3dsMax Configuration
 Autodesk 3ds Max & 3ds Max Design Configuration
1. Get the Dashboard
The first step is to install the ArchVision Dashboard.

Note: The first time ArchVision Dashboard is launched users are prompted to create an account. All users should create unique accounts.
2. Install the RPC Plug-in for 3ds-Max
Use the Dashboard to install the RPC Plug-in for 3ds-Max.
Click on Plug-ins/Software and then select Update next to the detected 3ds-Max products to install. Follow the onscreen instructions.
![]()
Note: Network Administrators can download .msi files for network deployment here
3. Configure Content Paths (if necesssary)
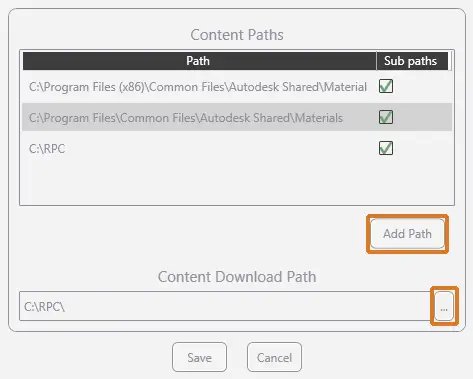
The Dashboard provides 3ds Max with the location of RPC files. The default location is C:RPC. If this is your first time using the product you can use the defaults. To customize alternative content locations:
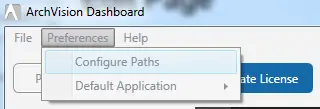
Open Dashboard and select Preferences then Configure Paths to modify RPC path info.
Click on Add Path to add a content path and click on … to modify the download path.
4. Accessing the RPC Plug-in (Located in the Command Panel)
To access the RPC Plug-in:
1. Click on the Create Panel.
2. Click to expand the drop-down menu.
3. Click on RPC.
5. Select an RPC object to place into the scene. 
6. Left click to place and then rotate it into position. 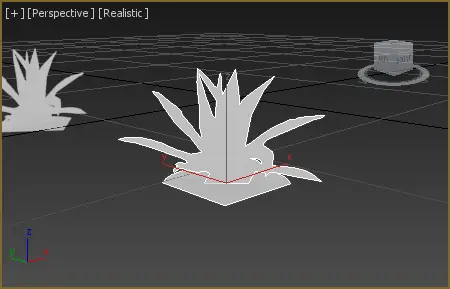 Use the ArchVision Dashboard to download additional content. Be sure and click on Sync Content under the RPC selection dialog to display newly downloaded content. You can also Drag & Drop from Dashboard directly into 3ds Max. Learn more about using RPCs in 3ds Max here.
Need help? Please e-mail support@archvision.com.