Presentation Styles of Dan Nevin [Alisco Designs]
When we come across great work we like to celebrate and share it with all of you. Welcome to the new Presentation Styles section of our blog!
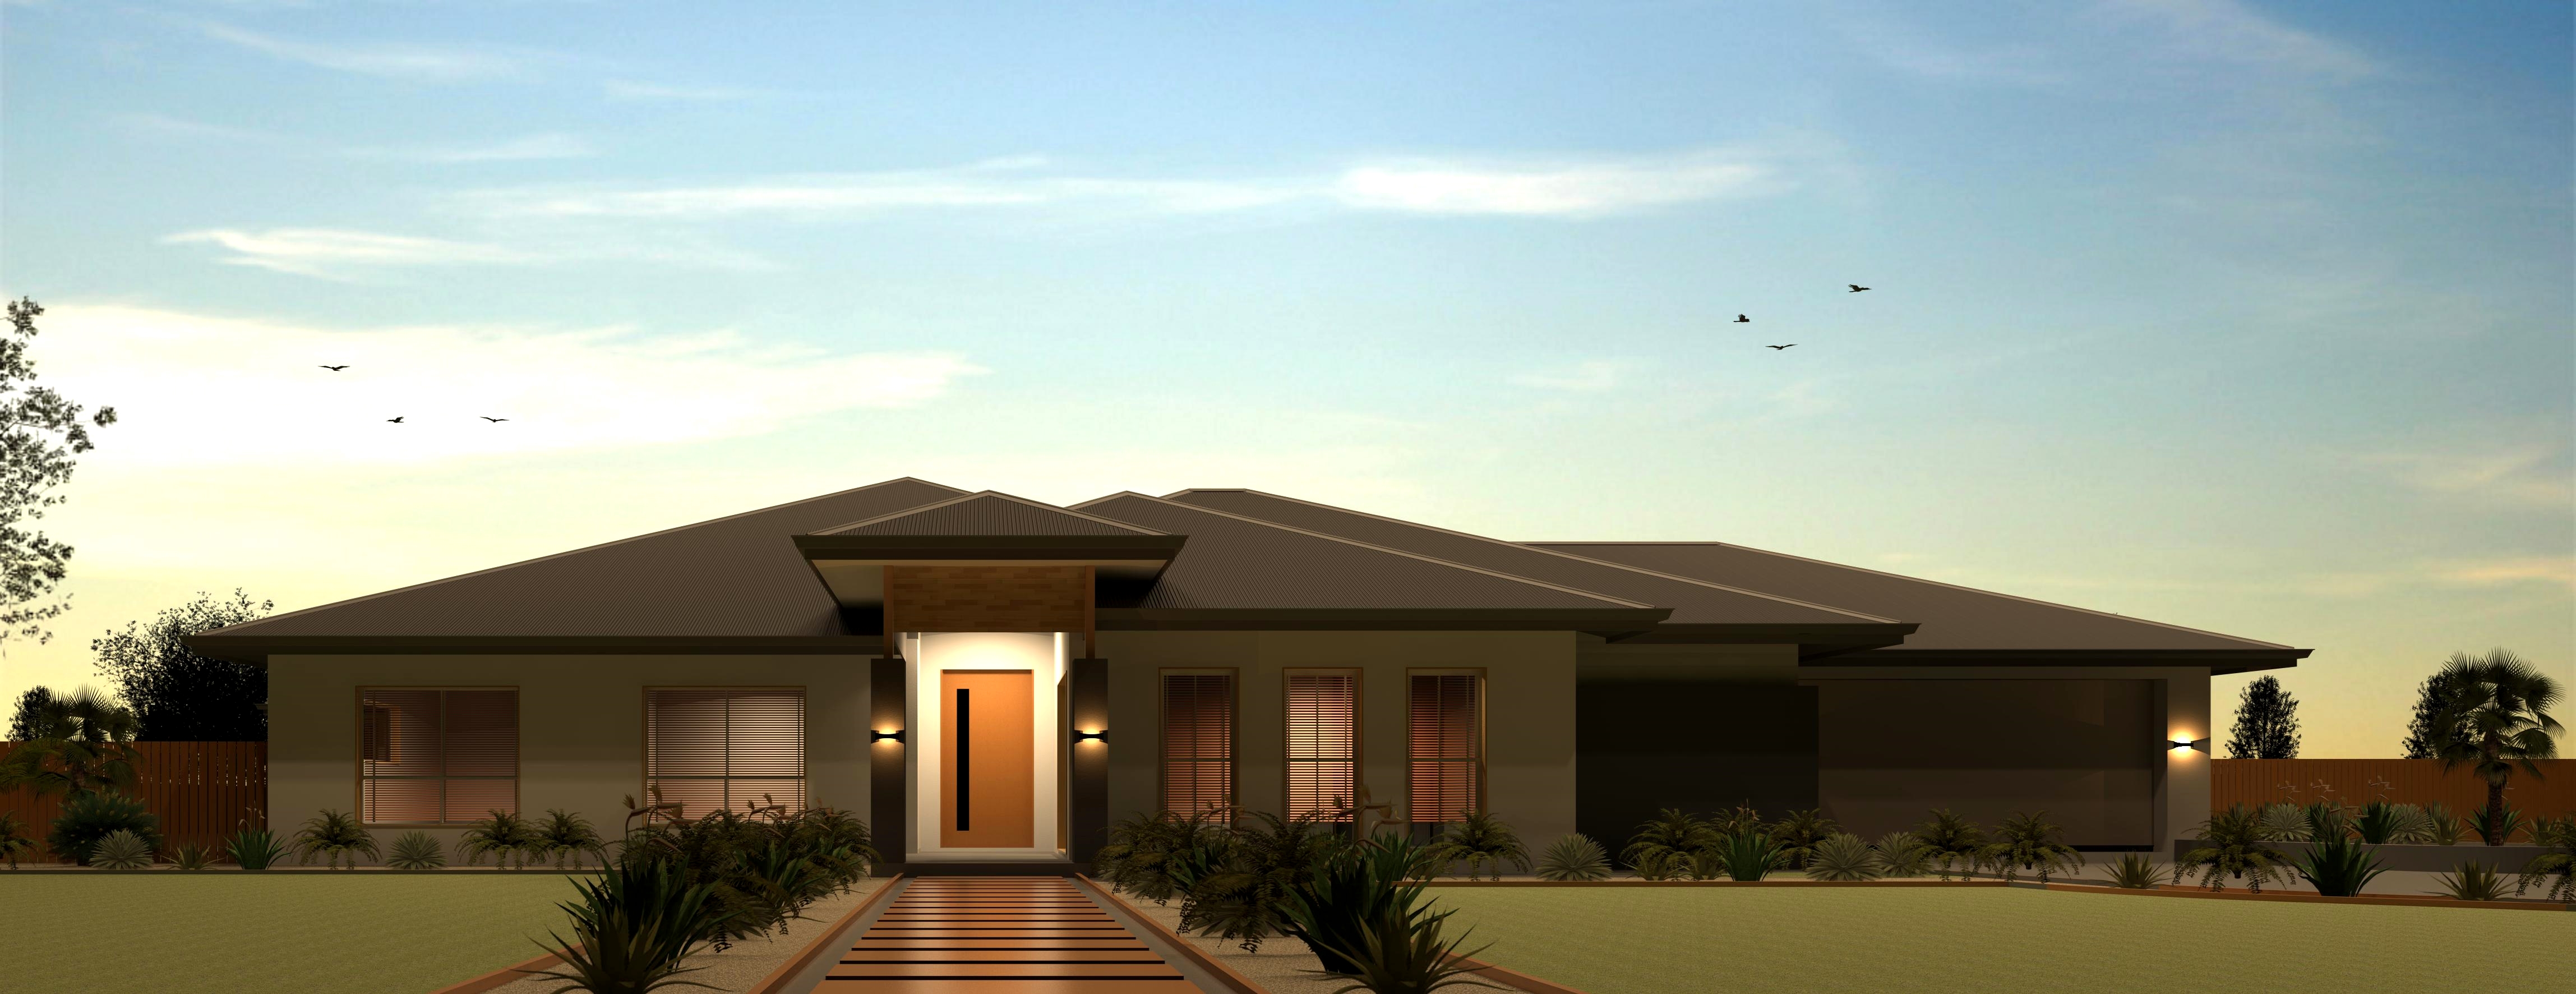
We’re kicking things off with the great work of Dan Nevin who works with Alisco Designs in Australia (http://www.aliscodesigns.com.au/).
 (Dan Nevin | Alisco Designs | www.aliscodesigns.com.au)
We asked Dan if he had any tips or tricks for getting great results from renderings in Revit and here’s what he had to say:
“As for tips and tricks mate here are a few things that hopefully can help a few people:
- Materials are very important when rendering. You want to get your materials as close to what you want as you can, colour wise and bump wise. I find that rendering by region is a good way to check this, you can render at a higher quality without it taking anywhere near as long.
 (Dan Nevin | Alisco Designs | www.aliscodesigns.com.au)
- Re-render and re-render. You can never do enough draft renders. This saves a lot of time picking up things you may have missed before tying up your computer for long periods of time. The closer you think you are to having it right the higher you make your quality. The region tool is great for this if you want to render an area in the highest quality before doing your final render.
 (Dan Nevin | Alisco Designs | www.aliscodesigns.com.au)
- Once you have your final render, you may want to up the saturation and contrast to your image. This is done best using a program like Photoshop. But if you can’t get your hands on Photoshop there are other photo editing programs out there that will do the basics that you need (I am currently using paint.net). play around with your editing tools a lot, go from over saturated to under saturated just to get a feel for what the image colours are doing, then adjust it until you are happy. Do the same with the contrast. I find that adjusting the contrast of an image can have a negative effect on the colours so you may want to do this before the saturation or just remember to double check your saturation afterwards.
 (Dan Nevin | Alisco Designs | www.aliscodesigns.com.au)
These are just my steps when working on my renderings, different things work for different people so don’t expect great results immediately. Find something that works for you. In the end all good renders come down to one thing, time. The more you spend the better your result.”
 (Dan Nevin | Alisco Designs | www.aliscodesigns.com.au)
Awesome work Dan and thanks for sharing!
If you’d like to show off your work send an email to rstevens@archvision.com and we’ll work to feature you on the blog and in an upcoming newsletter!
______________________________________________________________________________________________
 (Dan Nevin | Alisco Designs | www.aliscodesigns.com.au)
 (Dan Nevin | Alisco Designs | www.aliscodesigns.com.au)