Presentation Styles of Christopher Dutton [Ocean Designs]
This month we’re profiling the work of Christopher Dutton of Ocean Designs in San Diego, California. Christopher contacted us after he saw the new Presentation Styles section of our blog and offered to pass along some tips for creating better work in Revit. Following are some of Christopher’s Revit renderings as well as some tips, tricks and techniques he’s learned along the way:
Materials: “Materials, materials, materials! If you’re using the out-of-the-box materials that come with Revit, find ones that are as close as possible to what you want, then take the time to customize them in the Material Editor to get them even more accurate. Pay special attention to the scale of material and bump images to make sure they are properly sized (for example, roofing, tiles and siding are critical).”
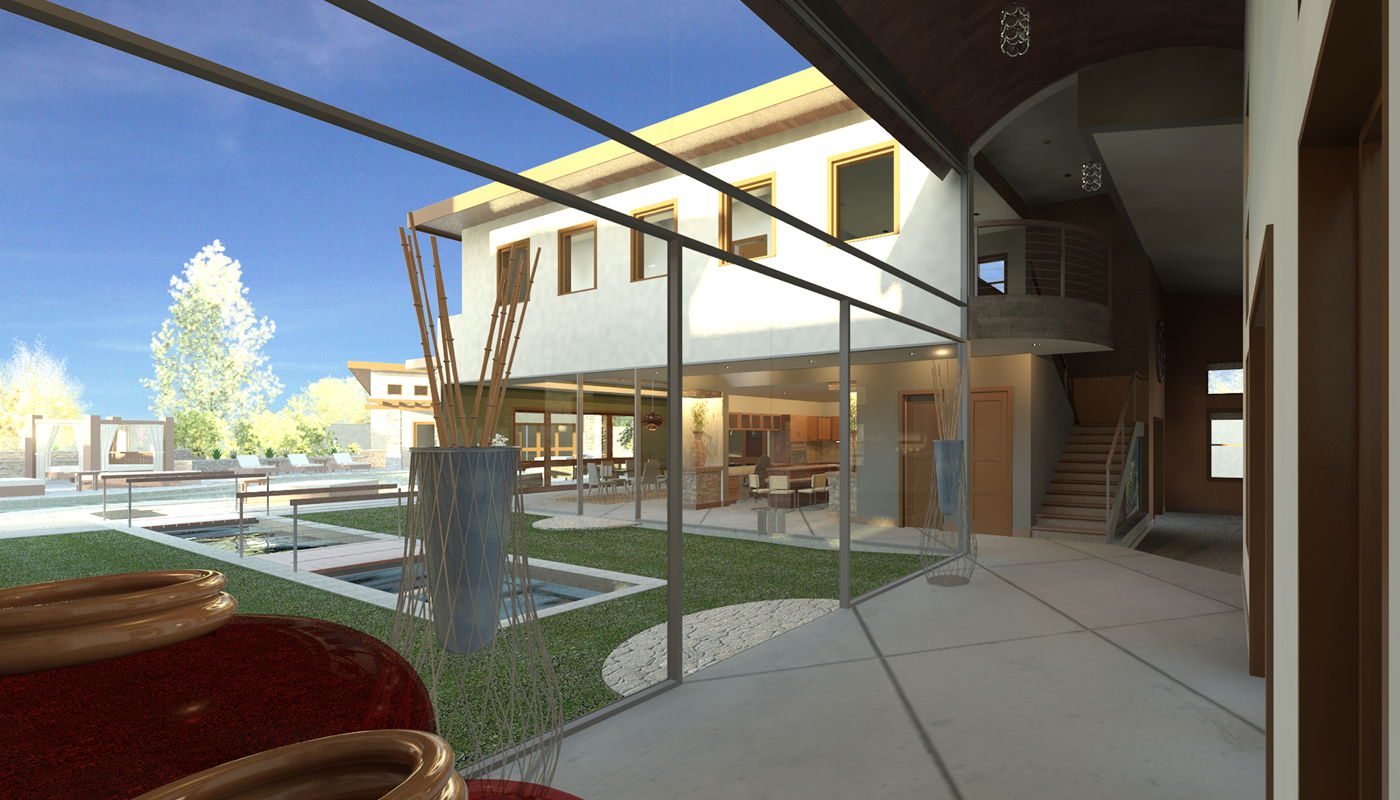
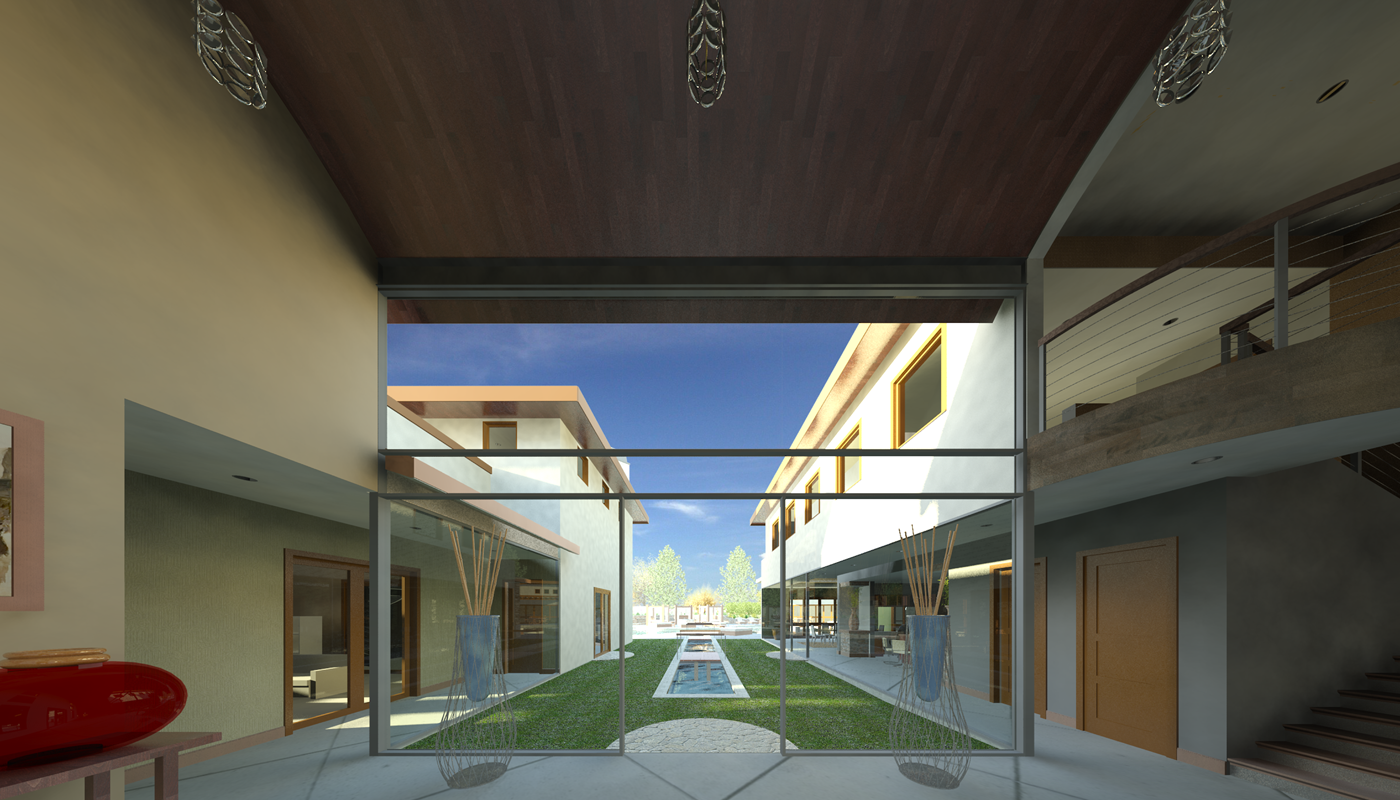
“Also, use the tint setting to customize the color of your materials. This usually takes some trial and error to get right, so you’ll need to do some low-quality renderings to test your colors. Another alternative that’s worth the time is finding custom material images. These can be found doing a web search, through third-parties and are slowly starting to be provided by manufacturers. Lastly, be sure to fine-tune the settings for glazing to optimize reflectivity and translucency. Getting the right effect from your glass can make a huge difference.”
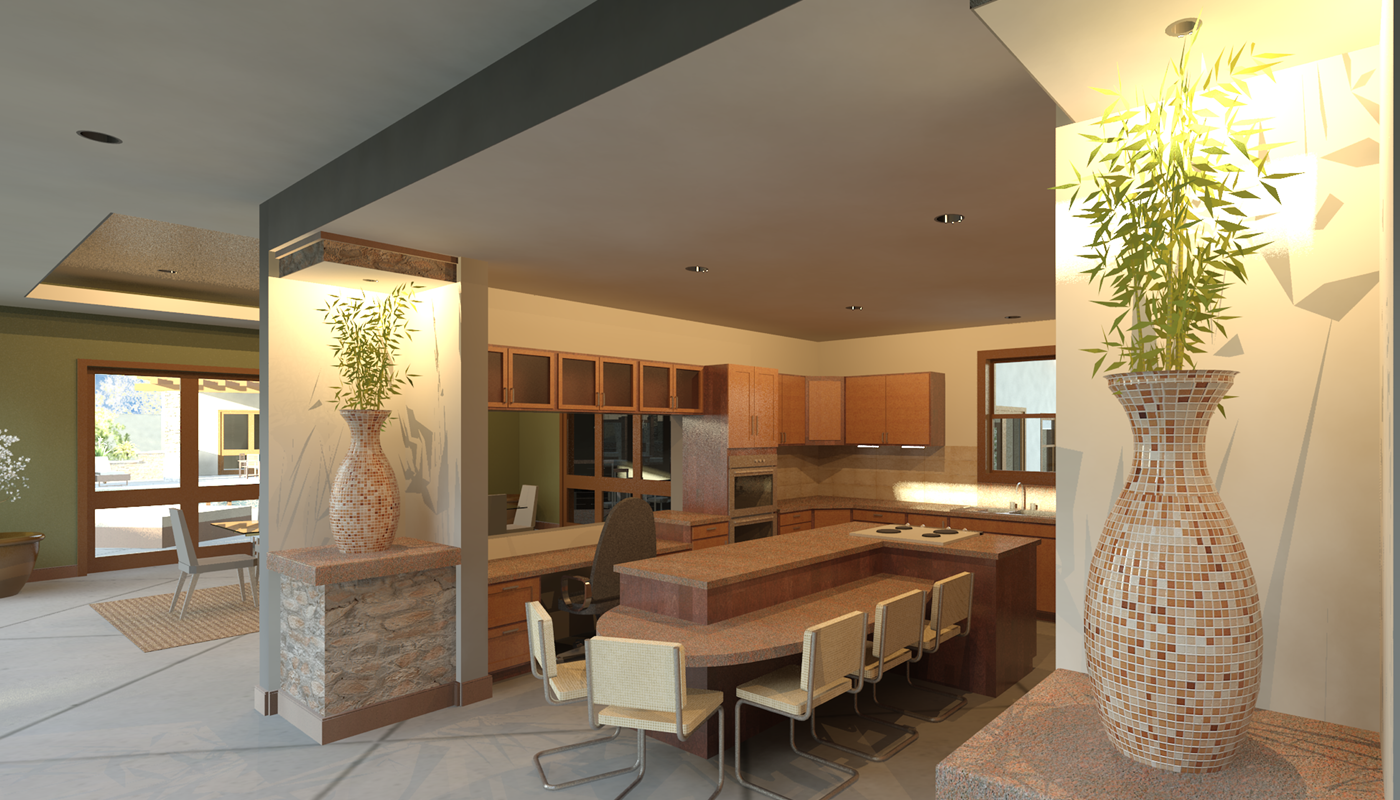
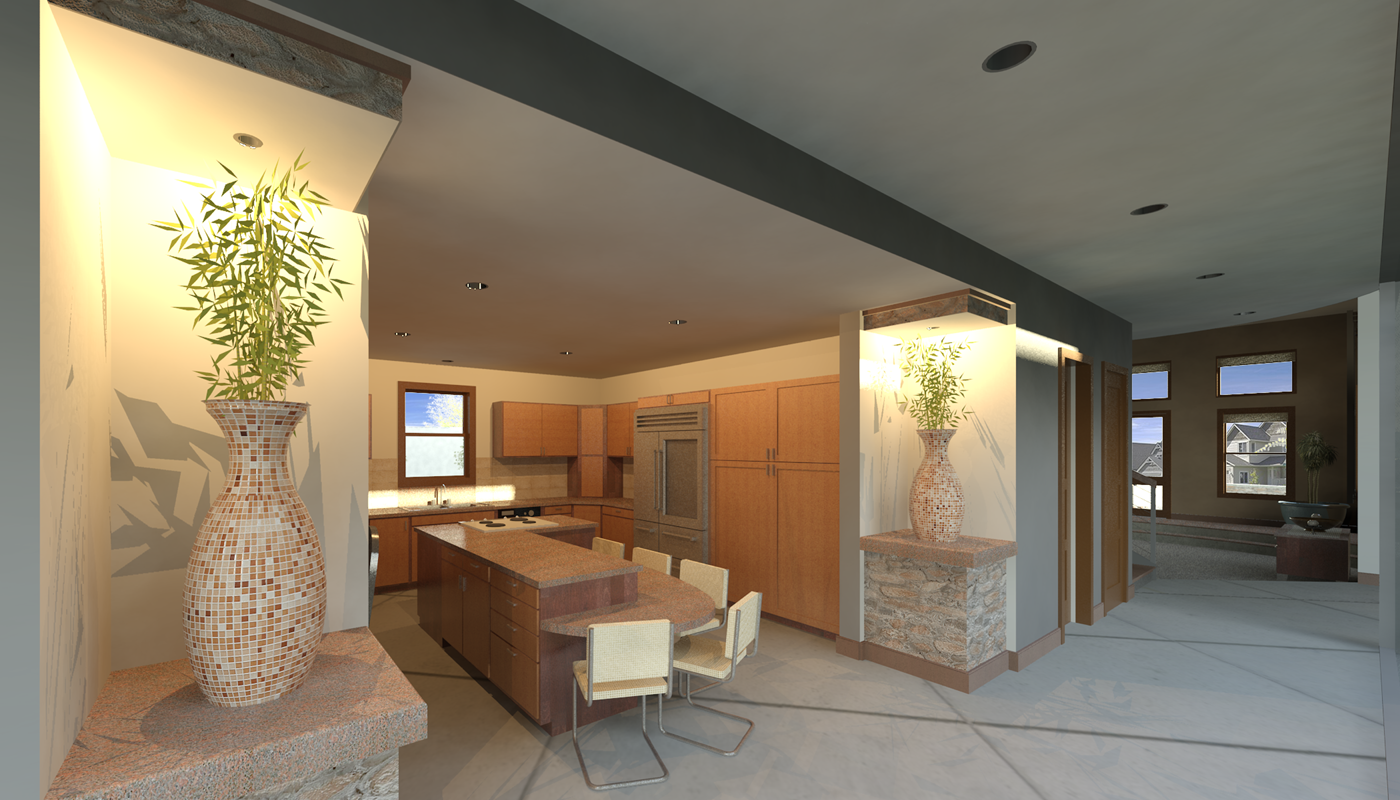
Content: “Start building a robust content library. There are many great resources online for downloading custom families, either from other users, third parties or manufacturers. If you can’t find what you’re looking for, take the time to create a custom family. Most of the time you’ll find another project to use it in later, so it’ll be worth it. Custom families will help add another level of detail and realism to your renderings so they don’t look so generic.”
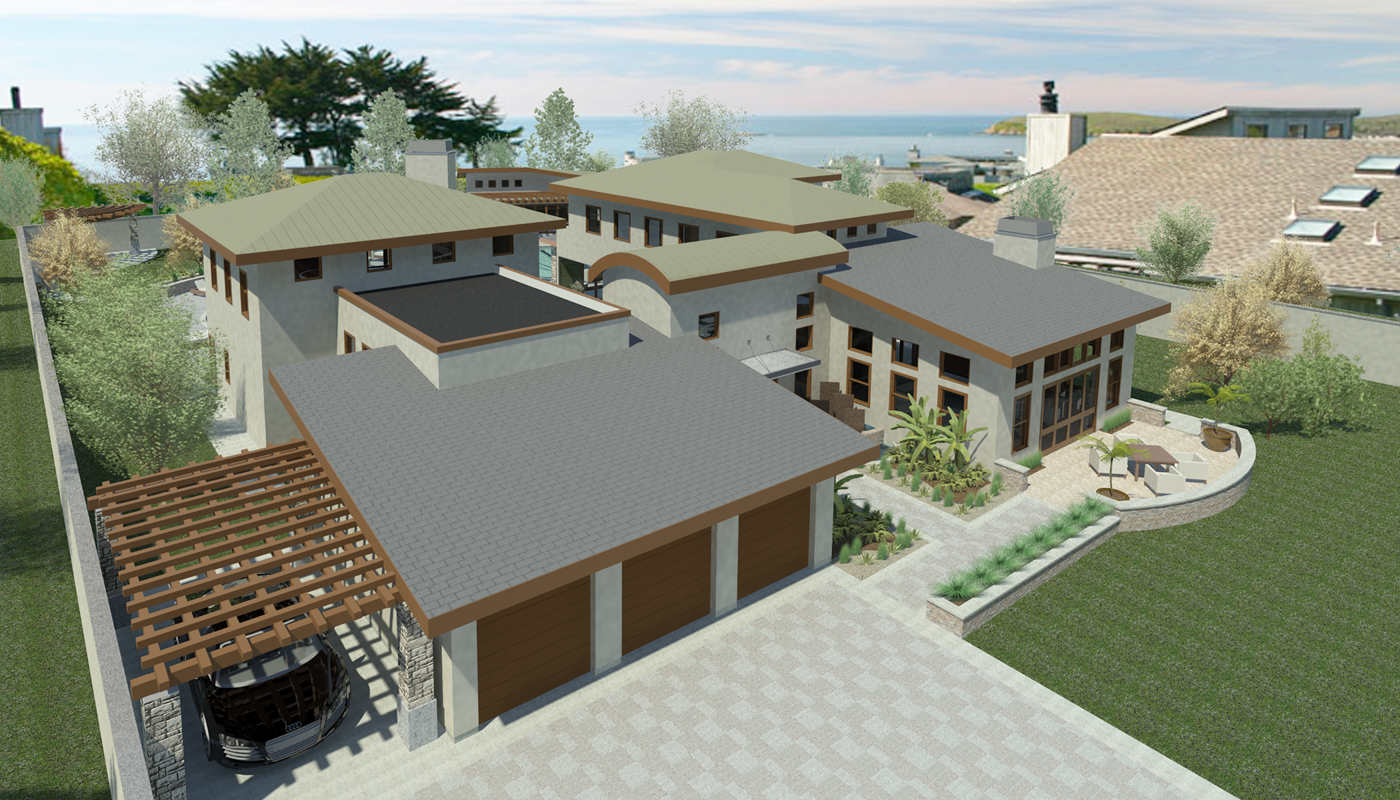
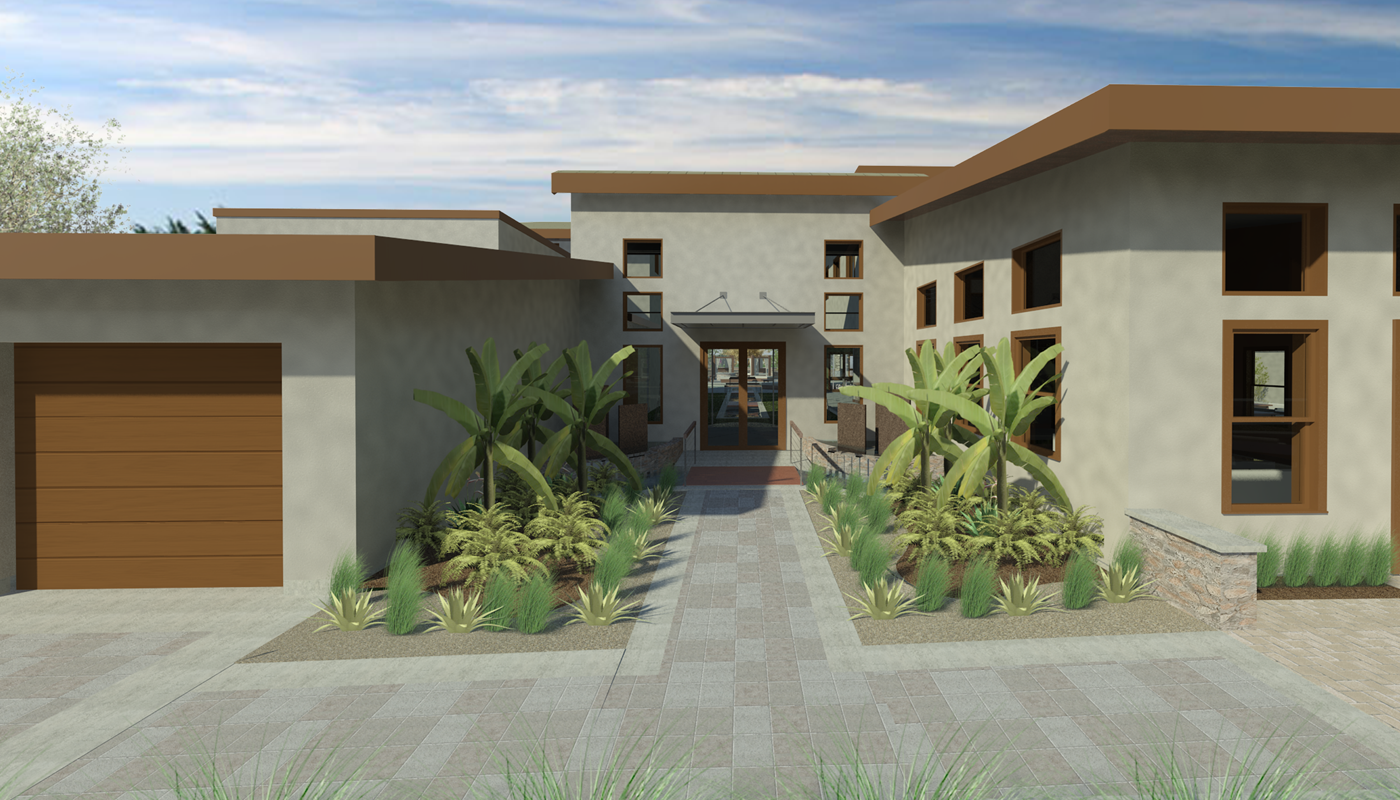
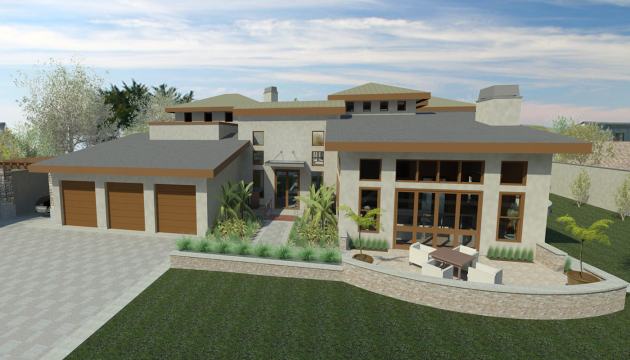
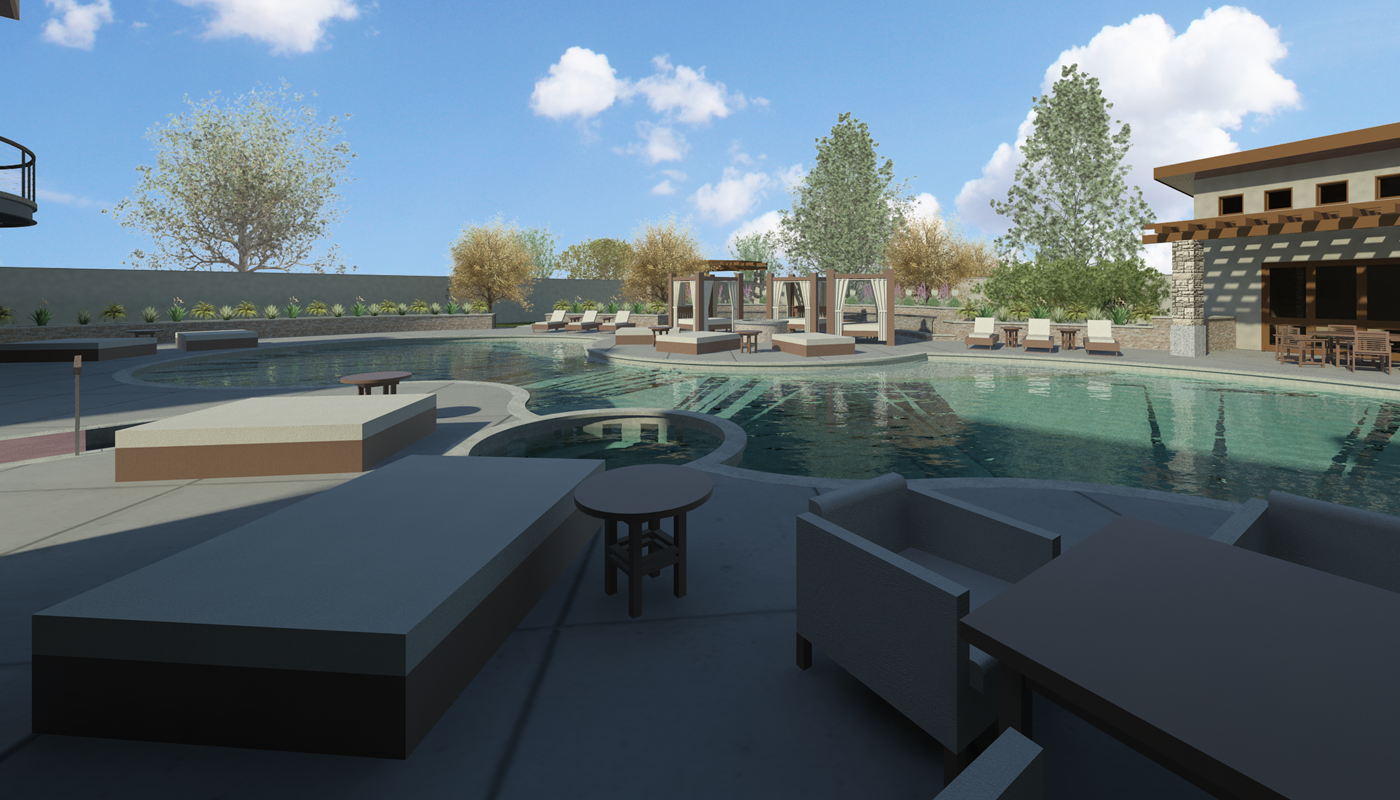
Lighting: “Lighting is key. For exterior shots, take into consideration your camera angles and prominent architectural elements when setting the sun angle so that you get nice shadow lines that accentuate depth and details of your building. Mid-morning and late-afternoon sun settings will usually give you a softer light and create shallower shadow casts that won’t engulf the faces of the structure, especially at eaves and overhangs.”
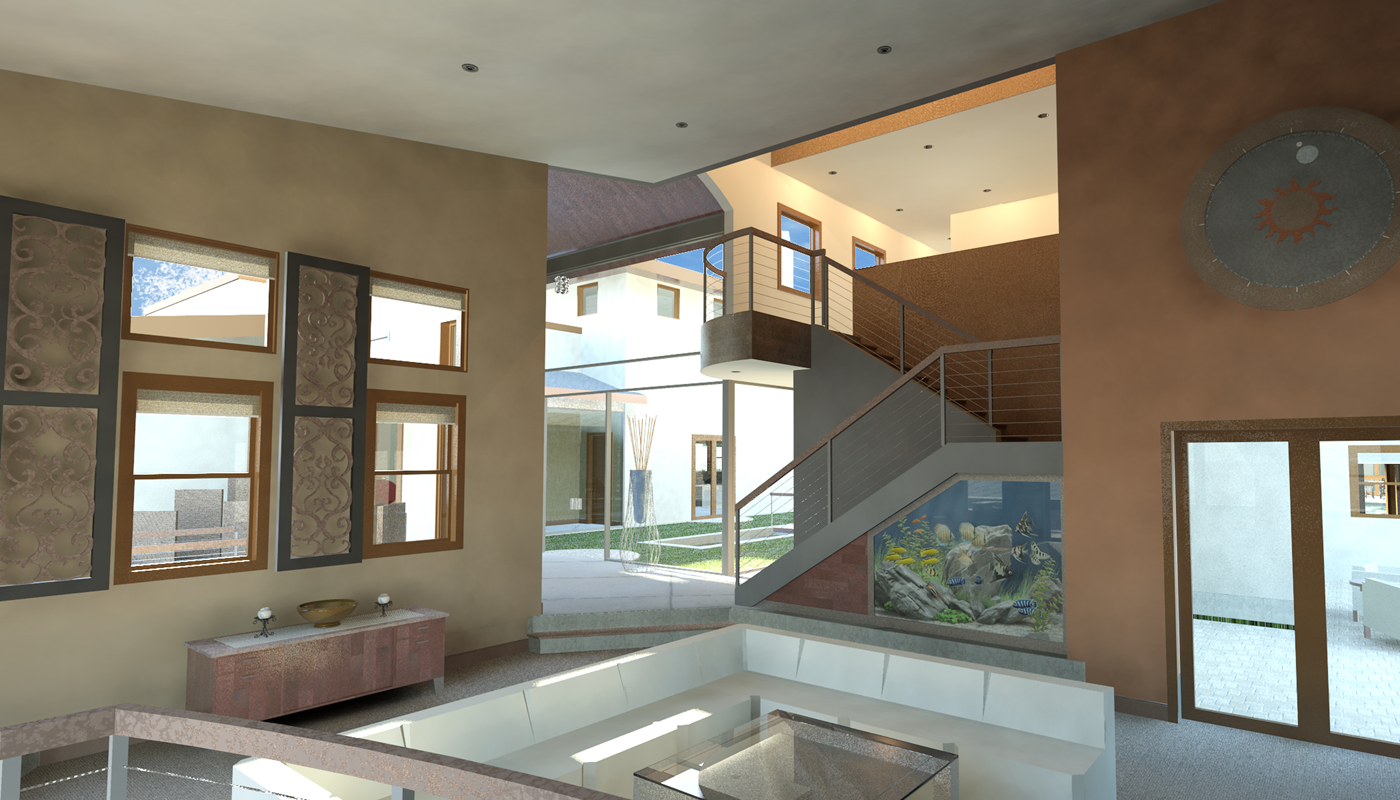
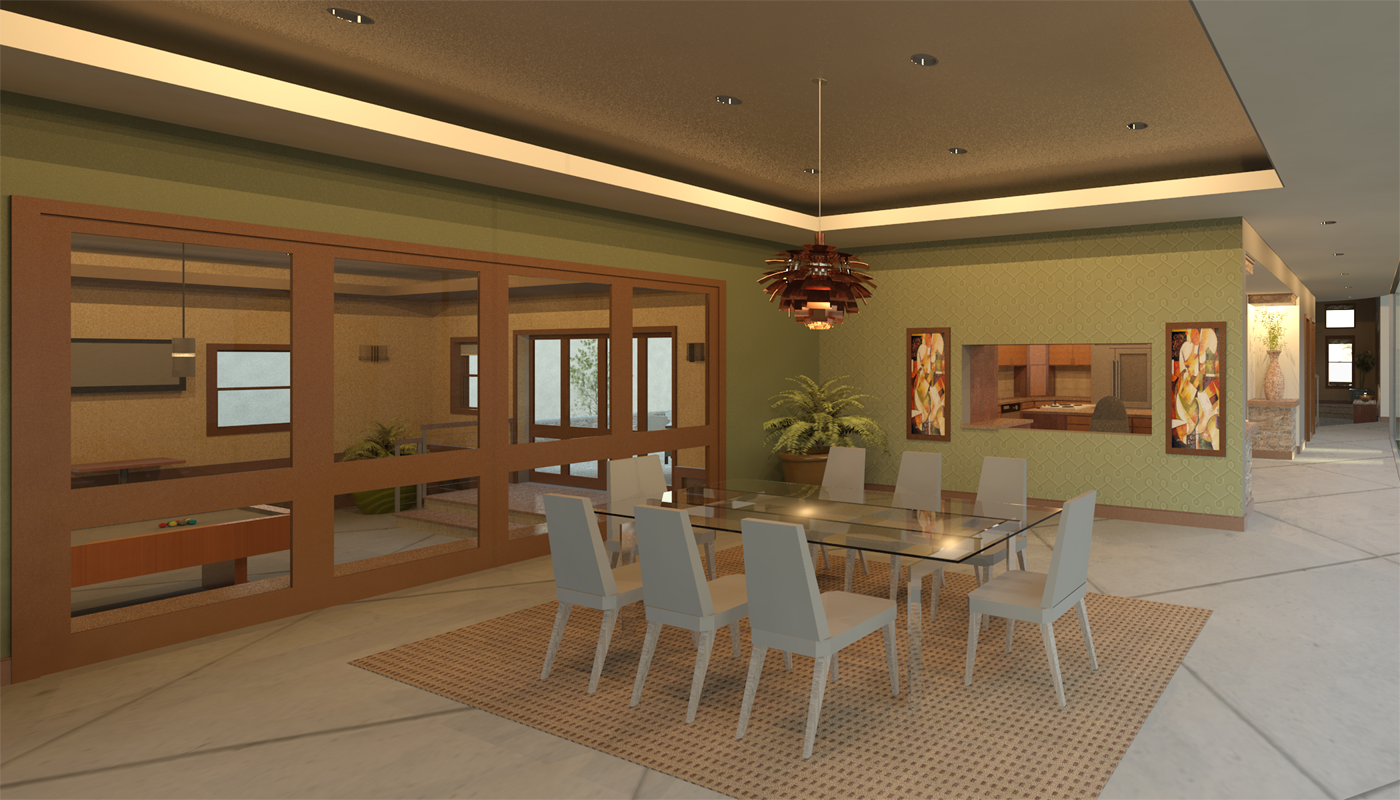
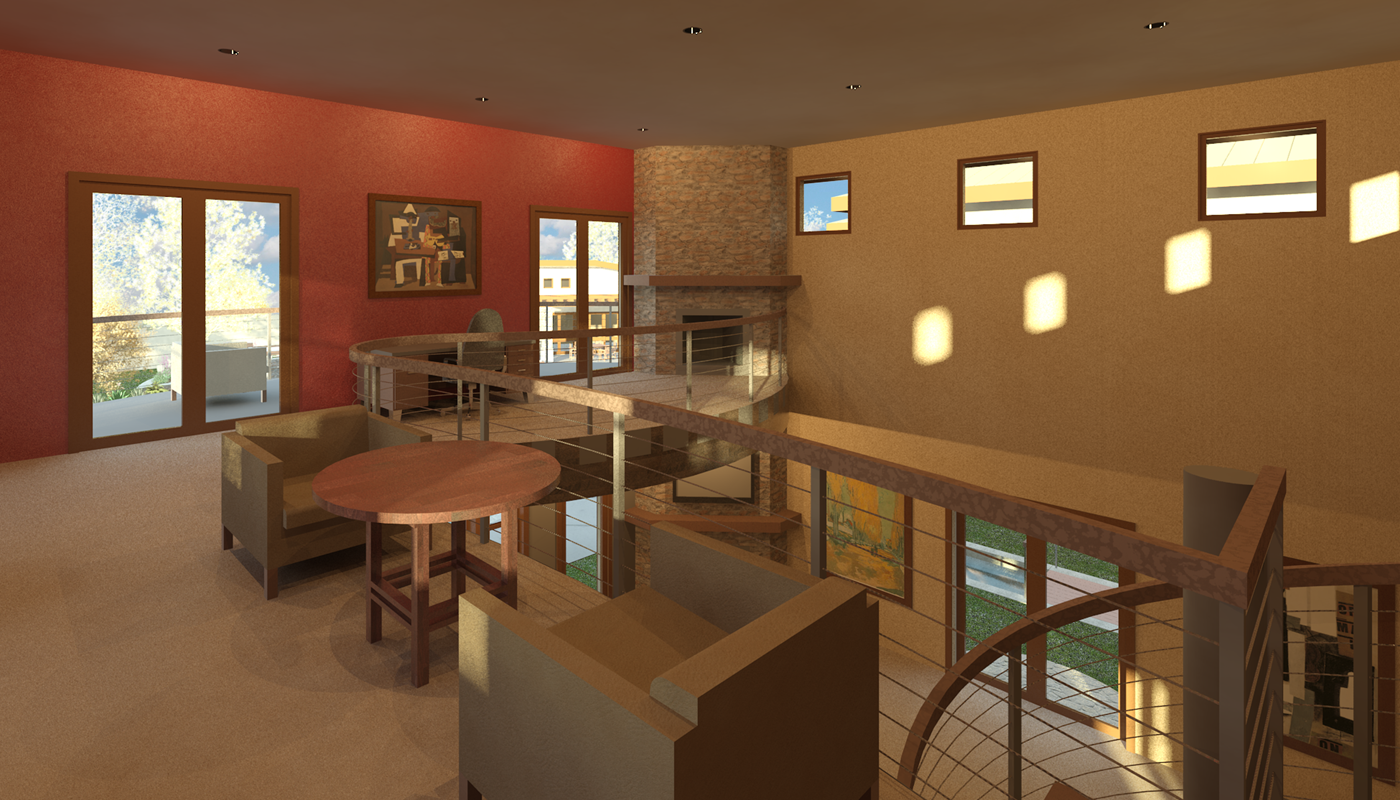
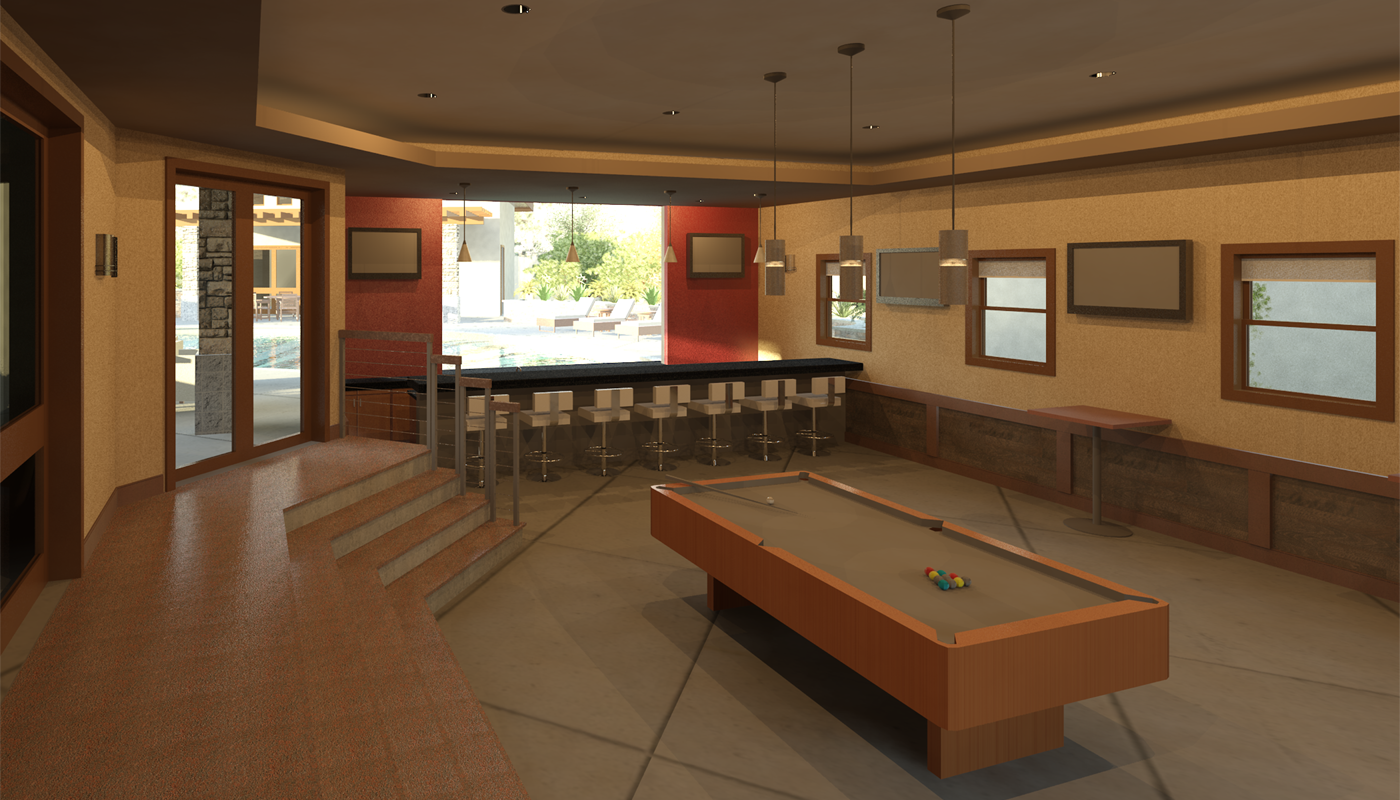
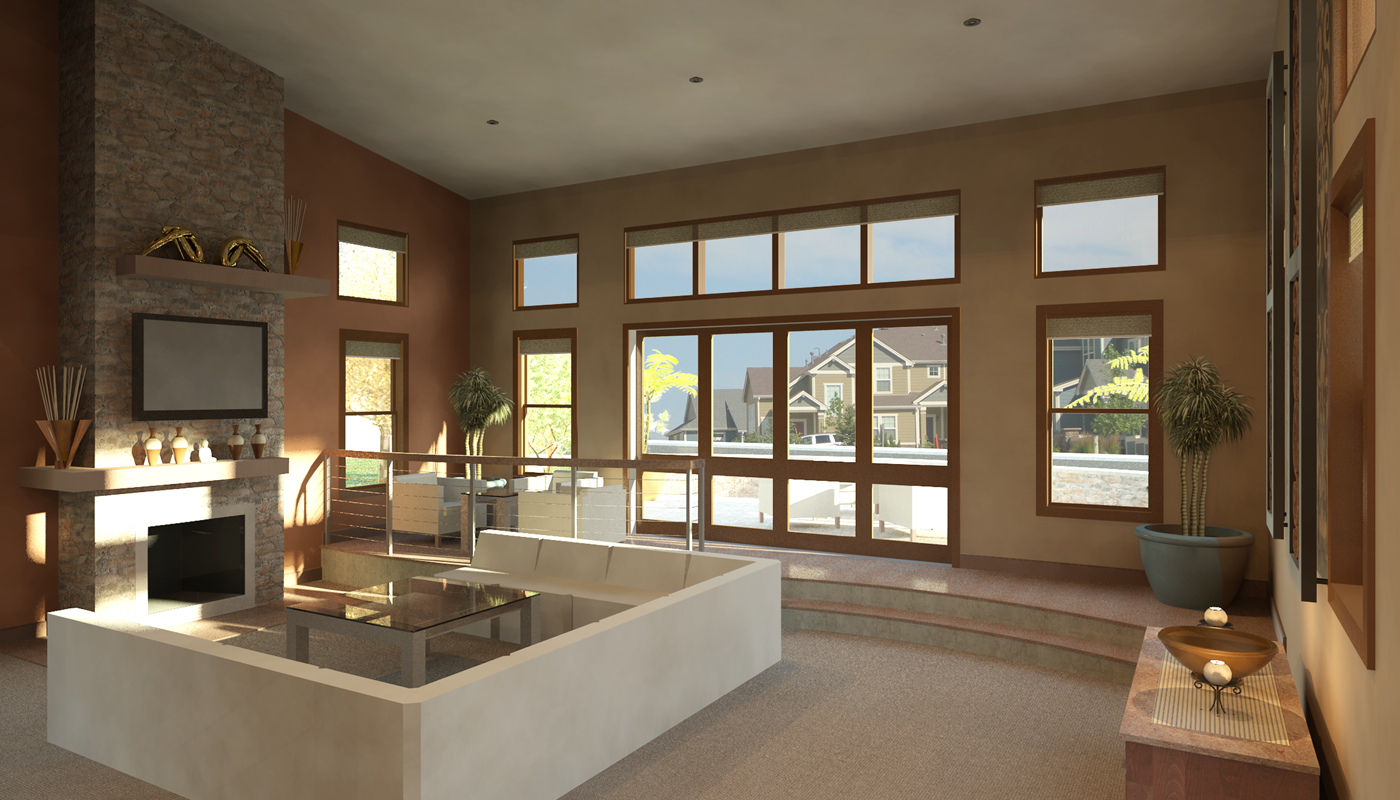
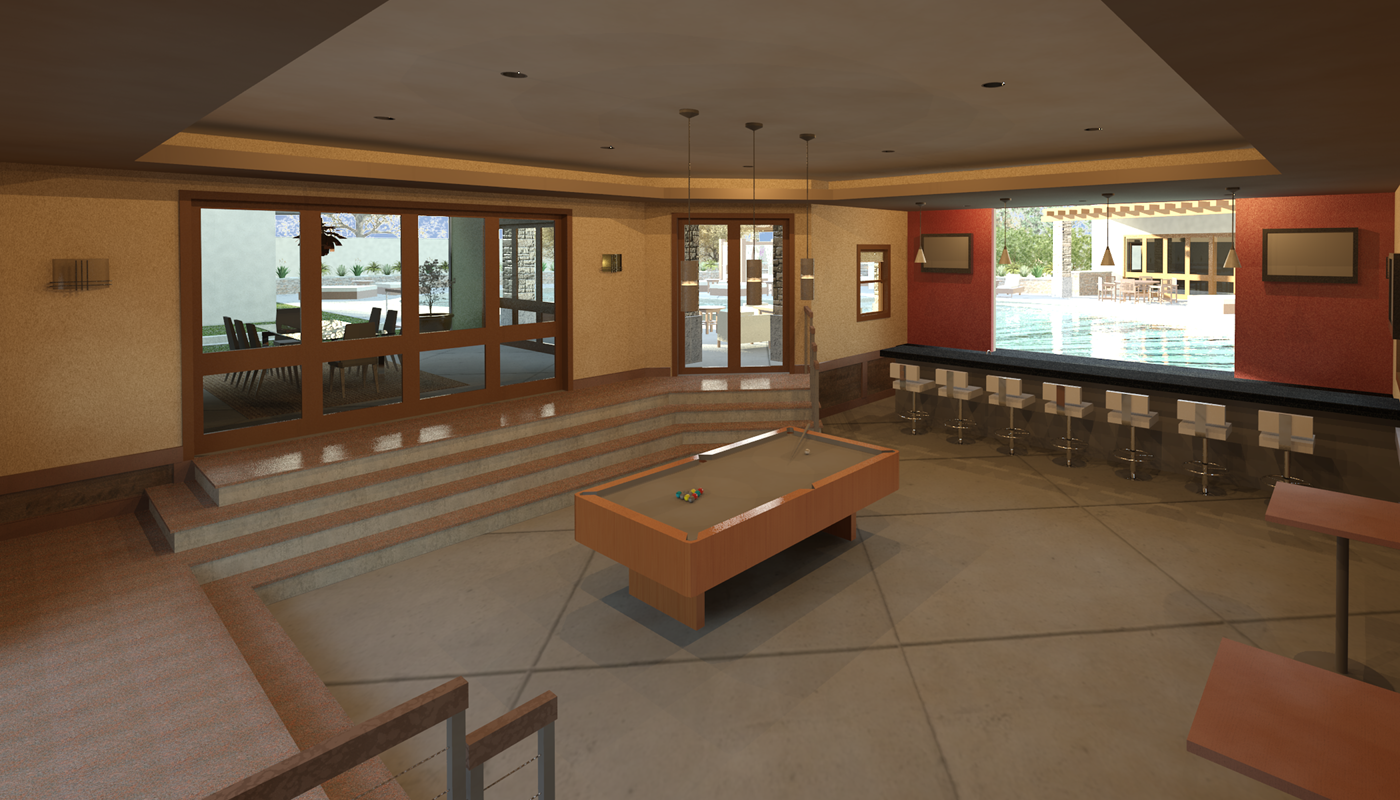
Interiors: “For interior shots, proper selection and placement of light fixtures will really make your renderings pop. Also, mid-day sun will provide indirect exterior lighting and help eliminate long, distracting shadow lines at exterior openings. Make sure to set up light groups and turn off the groups that don’t affect the area you’re rendering to eliminate unwanted light casting and reduce the amount of processing.”

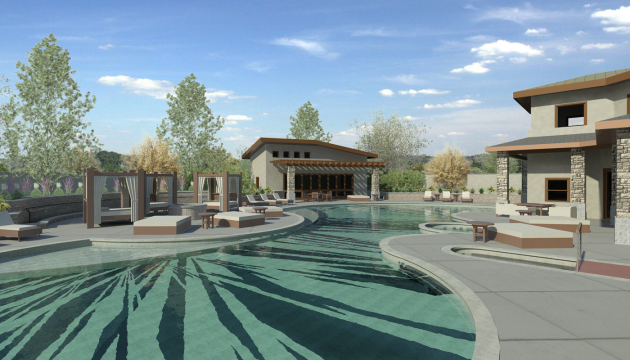
Plantings: “Planting. Revit’s RPC plant library isn’t always perfect [… Christophers choice of words, not ours 😉 Perfect.. no, but pretty darn good!], but find plants and trees that you like and locate them to help accentuate and add texture and context to the composition of your rendering. I’ve found that locating a tree in the foreground just outside of the field of view so that some of the outer leaves and branches are at the edge of your view can help frame in your image and add a level of realism.”
Backgrounds: “Don’t use Revit’s sky and clouds for your background. It increases your rendering time and the quality is usually not that great. Build a library of images that you can use as backgrounds (the higher-res the better). I’ve created a library with categories such as sky, neighborhoods, landscapes, hills and valleys, cityscapes, etc. Find images that relate to the context, scale and camera angle of your renderings. Render with the background style set to “Color” and “White (255-255-255)”. When the rendering is complete, select “Export” and save the image as a PNG. This will save your image with a blank background. Then you can open the PNG file in a photo editing program such as Photoshop and drop the background image you’ve selected behind your rendering. Scale and move the background image as needed to fit with the rendering and then adjust the layer’s brightness, contrast and exposure to get it to blend properly.”
“Lastly, get creative with your camera angles. Use overhead views, think about perspective and focal point as well as overall context. Hope everyone can find something useful to take from this!”
Thanks for the tips Christopher!
If you’d like to show off your work send an email to rstevens@archvision.com and we’ll work to feature you on the blog and in an upcoming newsletter!